
Burglin Gnomes Complete Survival &Camp Management Guide
Burglin Gnomes is a chaotic, cooperative survival game where you play as working-class gnomes tasked with infiltrating the Human World to complete daily chores for your high-society overlords. Underneath its whimsical art style lies a harsh permadeath system and strict time constraints. This guide breaks down the core loop, lobby save rules, and upgrade mechanics to ensure your squad survives past the first week.
By: Frontline Pathfinder | Lead Content Tester, GameguideHub
Tested on Version: Release Build | Game Type: Co-op Party Survival
Burglin Gnomes is a chaotic, cooperative survival game where you play as working-class gnomes tasked with infiltrating the Human World to complete daily chores for your high-society overlords. Underneath its whimsical art style lies a harsh permadeath system and strict time constraints. This guide breaks down the core loop, lobby save rules, and upgrade mechanics to ensure your squad survives past the first week.
1. The Core Gameplay Loop
Your life as a gnome is divided into two distinct phases: camp upkeep in the Gnome Haven and risky raids in the Human World.
- The Daily Scroll: Every morning, press Tab to view your Task Scroll. You will be given several random objectives to complete in the Human World (e.g., stealing household items, breaking electronics, gathering scrap, or disabling pests).
- The Quota: You only need to complete **any 3 tasks** from the list to successfully clear the day.
- The Escape: Once 3 tasks are checked off, any surviving player must find and ring the **Escape Bell** in the Human World to end the day.
The Permadeath Trap: Day 1 ResetsEach day features a strict 15-minute time limit. If your team fails to complete at least 3 tasks before the timer expires, the day is marked as a failure. Unlike other cooperative games, you do not load a previous save. A failed day completely wipes your save file, resetting your progress back to Day 1, deleting all structures, resources, and crafted gear. Always prioritize the 3-task minimum before trying to gather extra loot.
2. Lobby Save Mechanics & Item Drops
Understanding how the lobby saves your progression will prevent you from losing valuable equipment:
- Host Ownership: The save file belongs entirely to the lobby Host. While the game features auto-saving, progress is only permanently written to the file when the Host manually exits the game through the main menu.
- Dropped Gear on Disconnect: If a client player (non-host) exits the server, their currently equipped gear and held inventory items are not saved to their profile. Instead, all their items are dropped directly onto the floor of the Gnome Haven. When loading back in, check the ground around the spawn area to reclaim your gear.
3. Gnome Haven Key Structures
Before launching a raid, utilize the interactive elements of your starting hub:
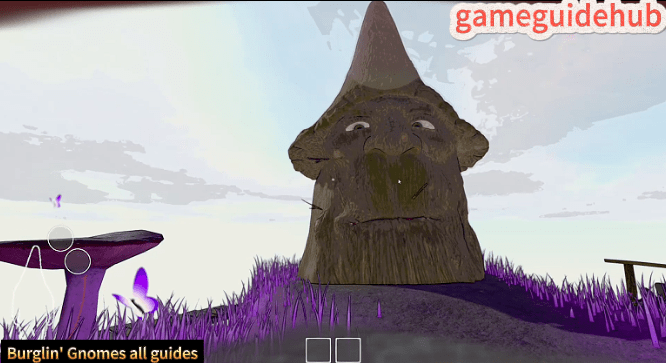
The Great Tongue Tree
This is your starting spawn point. Hit the wooden branches hanging from the tree to obtain starting sticks. While weak, these can be equipped in your hand to stun pests, break small human objects, or playfully hit your teammates.
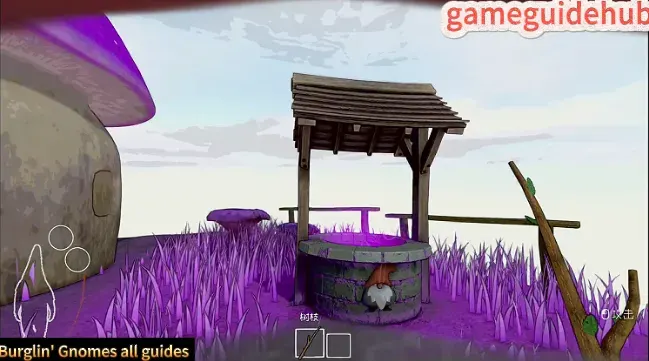
The Well of Creation
This is your crafting station. Any stolen human items successfully brought back to the Gnome Haven automatically convert into raw materials (Wood, Stone, Metal, Plastic, and Fabric chips). Take these to the Well to craft equipment, furniture, and structures.
The Mushroom Hut (Home)
Your customizable base of operations, featuring three vital components:
- Storage Chest: Used exclusively to store your crafting materials. Note: You cannot store crafted gear inside this chest.
- Soul Collector: In the Gnome Haven, use this device to invite friends to your lobby. In the Human World, this acts as a revival beacon to bring back dead teammates.
- The Haven Bell: Ring this bell in the Gnome Haven to launch your raid and enter the Human World.
4. Inventory & Gear Management
Gnomes have highly restricted carrying capacities. By default, your character model has exactly 2 Equipment slots and 2 Item slots.
Inventory Rules & Upgrades:You can craft a Backpack at the Well of Creation to permanently expand your carrying capacity to 4 item slots.
Note that equipped gear (like Helmets, Spring Shoes, and Gliders) is strictly restricted to your Equipment slots and cannot be moved to your item inventory. To swap out or drop items when your slots are full, hold the Tab key and drag the item out of the menu, or select it and press G to throw it onto the ground.
5. Map & House Progression
As you survive more days, you will unlock new regions and camp upgrades to handle higher-difficulty tasks:
The Five Territories
There are 5 maps available: Suburbs (default Day 1 map), Woods, Swamp, Island, and Summit. After surviving Day 1, the game will present you with two random maps to choose from for the next day's raid.
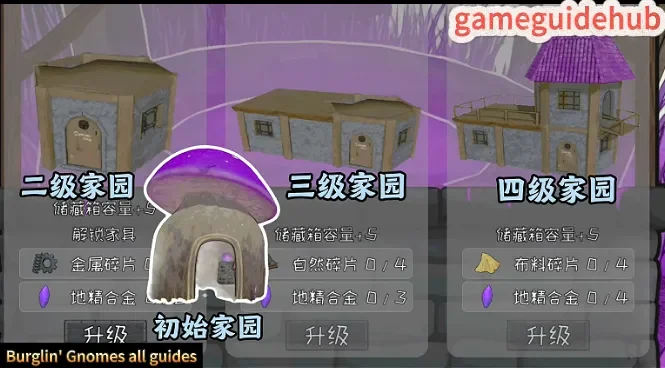
Mushroom Hut Upgrades
Your base can be upgraded up to Tier 4. Upgrading your home increases your interior floor space, unlocks a higher maximum capacity for your Storage Chest, and expands your furniture placement allowance.
Furniture & Alchemy (Tier 2 Unlock)
Once you upgrade your Mushroom Hut to Tier 2, you unlock the ability to craft furniture. This includes the Alchemy Lab, which allows you to brew potions for speed and defense buffs, and Gear Dummies, which are the only structures in the game capable of safely storing and displaying your crafted armor and weapons.